1: How to power on machine and power off machine
First star the water chiller .
Then press the button according to the video
Water chillier button — servo motor button —laser button–machine controller button
Why have to start the water chiller first , because sometimes in the winter, the temperature is not easy come up , so have to start the water chiller first .
The water chiller normal temperature is from 20-30 ℃。
It will alarm if the temperature will low down 20 ℃ or higher than 30 ℃
Then open the software on the computer . it will remind you if come back to origin ,click first like in the video .then can start your work .
If you want to power off the machine .
Close the software first , then power off the computer , then power off all the buttons on the controller cabinet .
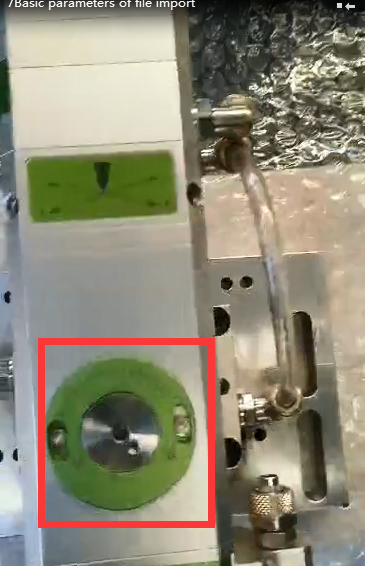
2.How to replace the lens nozzle ceramic body of the laser cutting head
The lens include the upper lens and down lens .
The down lens size is 27.9, and the upper size is 24.7
Replace the down lens first from here :
When you take the lens out from the door, please do not touch the lens with hand ,and close the door at once .when you replace the lens , must keep everything is clean ,
The upper lens replacement from here position :
And same operation with replacement of down lens .
As the replacement of the nozzles ,please look at the video ,very easy .
As the replacement of Ceramic ring,have to power off first . please look at the video
After replacing the ceramic ring, the laser concentricity must be adjusted
3.laser concentric
First of all, you have to prepare a Scotch tape, and a new nozzle (size 1.5 or 1.2 )
Replace the new nozzle on the laser head , and Stick tape on the nozzle.
Then click the Laser Button on the hand-wheel controller .
After that , then check the tape like in the video , There is a circle and a dot on the tape,
This circle and this point must be concentric
If not concentric ,need to adjust the screws on the laser head ,like the video .
5 Cutting head calibration
First , put a small metal panel on the bed,and move the laser head down .
The laser head to the metal surface distance is about 2-3mm .
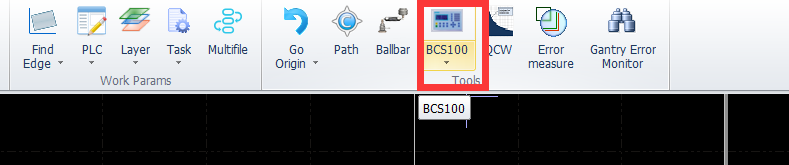
And then come to the computer . find the CNC .
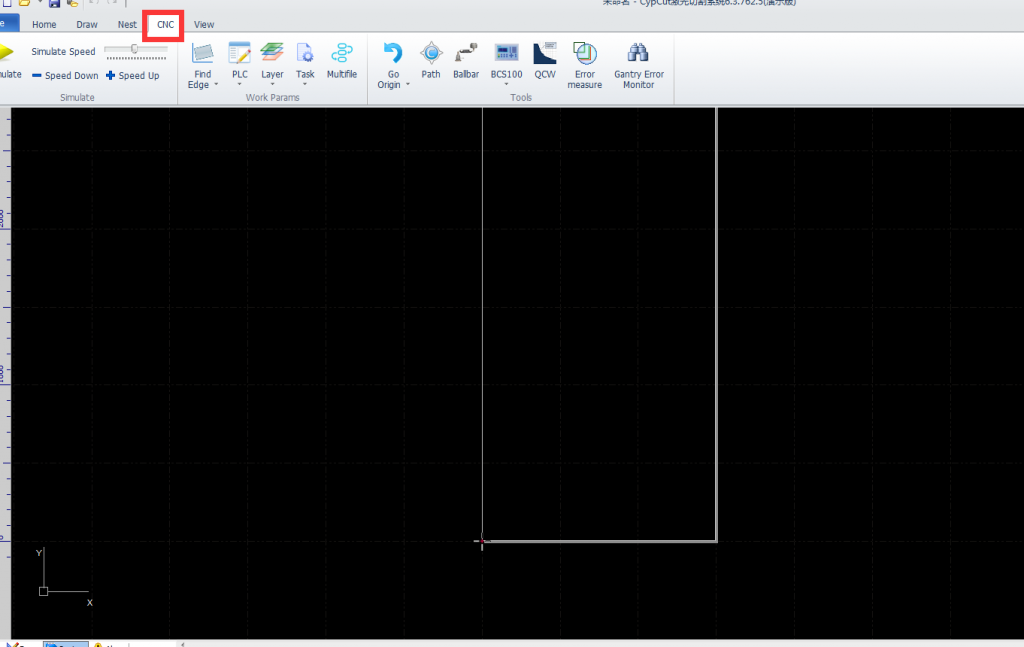
Find the BSC100
Click F1
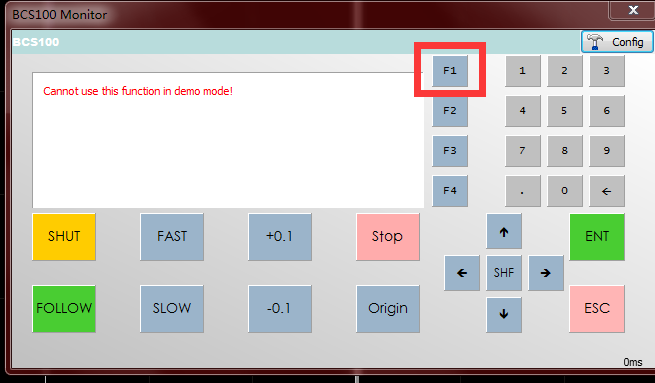
Then F2 ,Then click 2
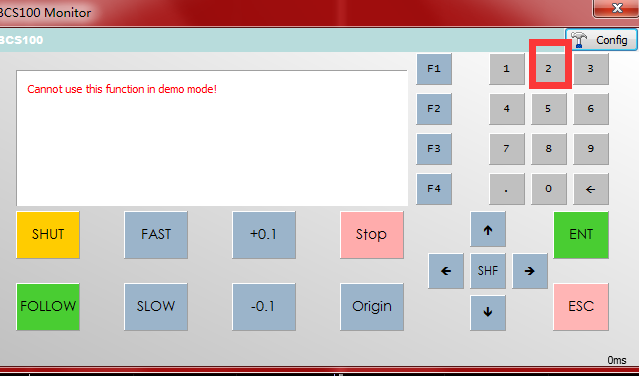
Then click ENT
After calibration, the stability and smoothness must be excellent
After confirm that , then click ENT . Then close it .
This is the process that must be calibrated every day
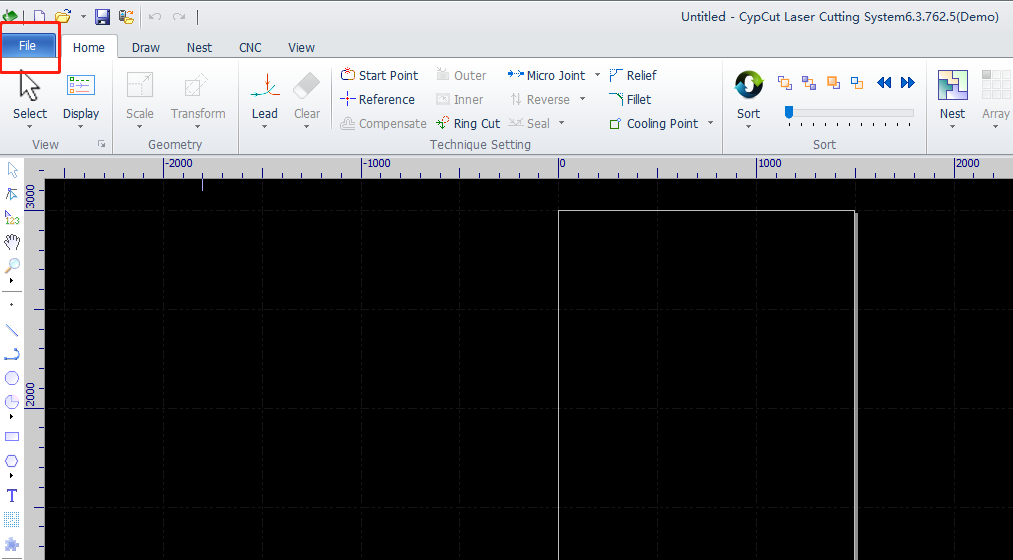
The basic operation of the controller .
- how to import file
File– import —DXF file
Better to check the manual to get more information how to use the controller .
The parameters set for the file .
After you import the file ,then start to set up the parameters
Choose the file first ,
Then check the lead line
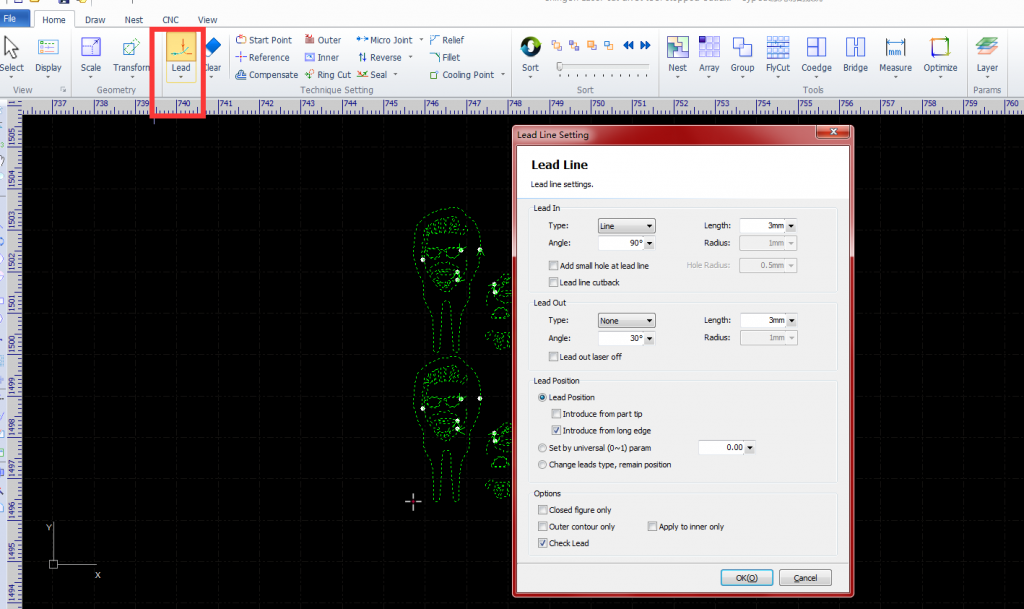
You can choose the Lead line type by yourself
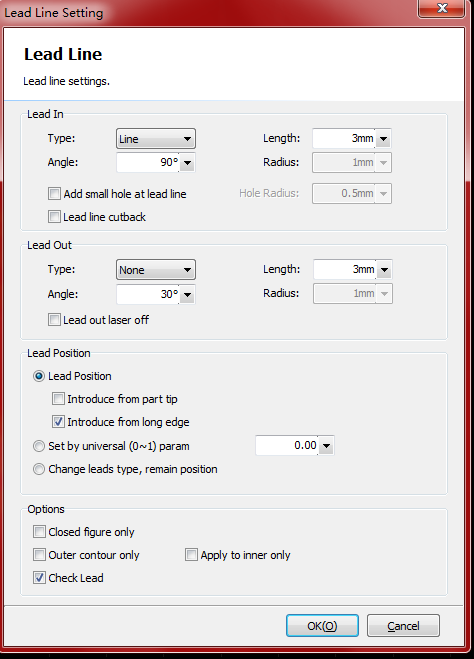
You can modify the starting point according to your work needs
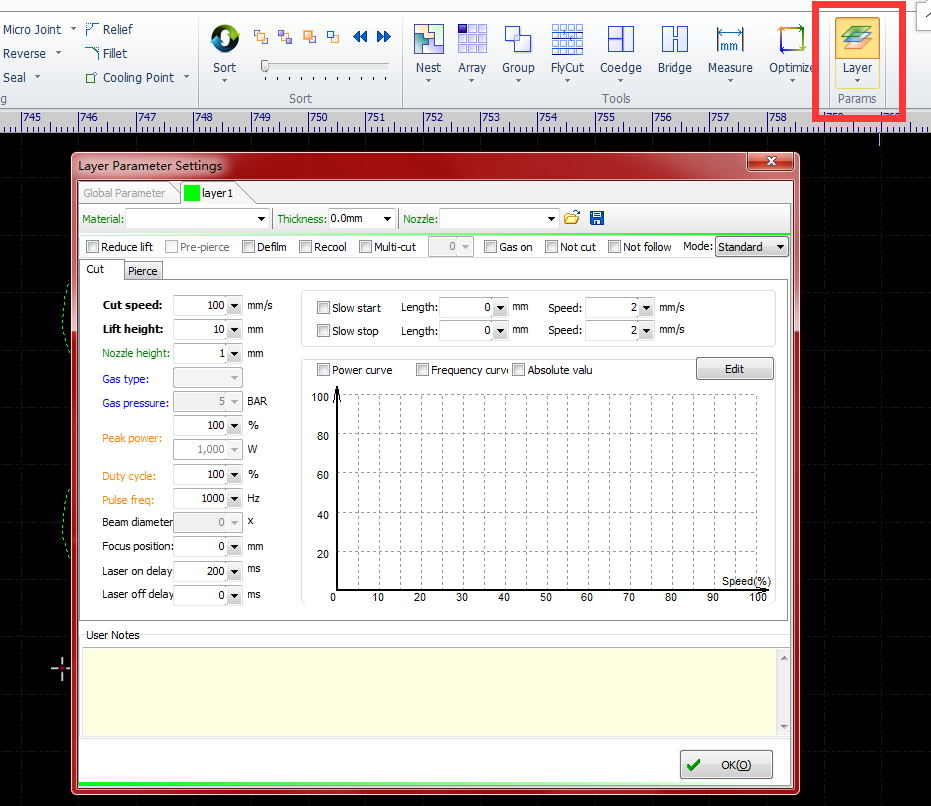
Then set up the parameters on the layer according the cutting parameters table .
Laser head is divided into auto focus and auto focus
Automatic focusing is adjusted from the control system,
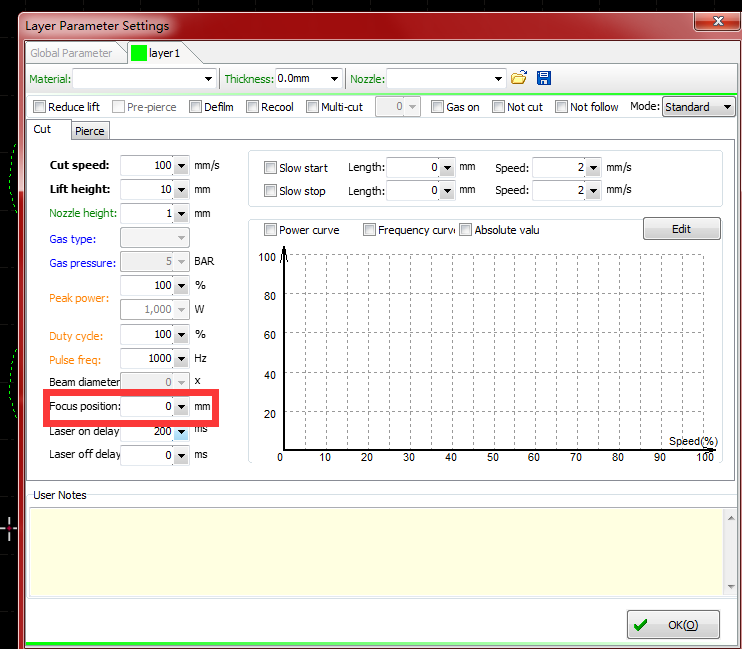
If your laser haed is Manual focus ,then needs to be adjusted from the laser head,like in the video
If it is automatic focus, then no need to do anyting .
water chiller failure :
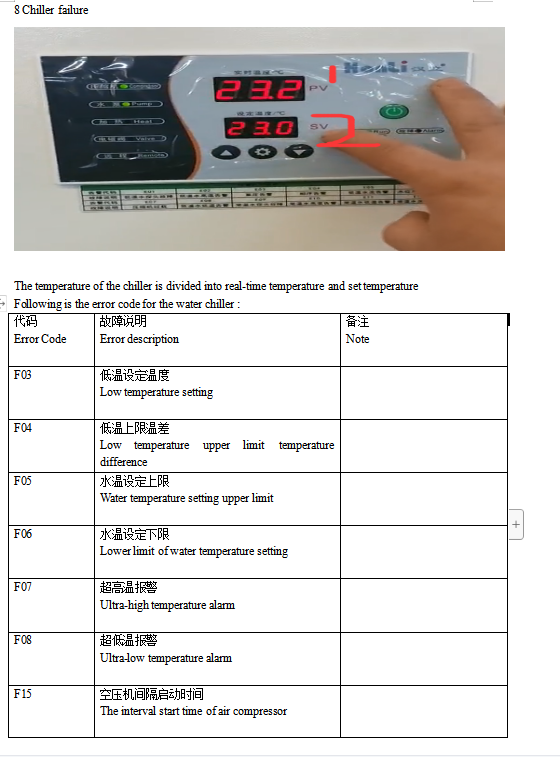
F16:The first start delay time of air compressor
The normal value of real-time temperature is 20-30 degrees
Below 20 degrees, higher than 30 degrees, will alarm
If the temperature higher than 30 degree, normally caused by dust , so take off the cover from the size ,like in the video ,Blow with an air gun to remove the dust, and clean the dust regularly.
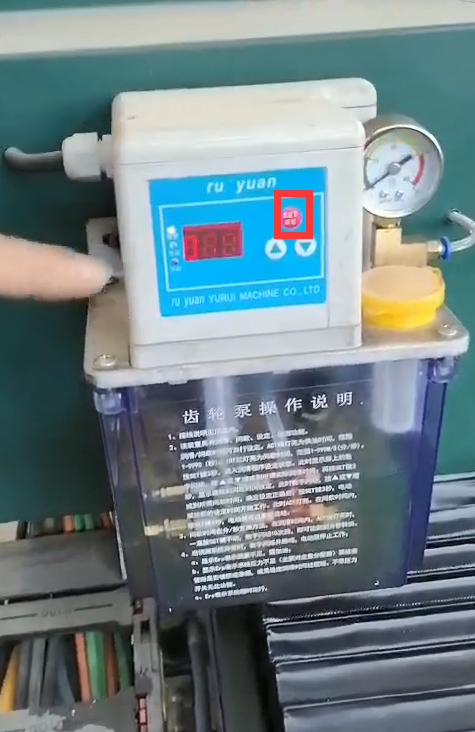
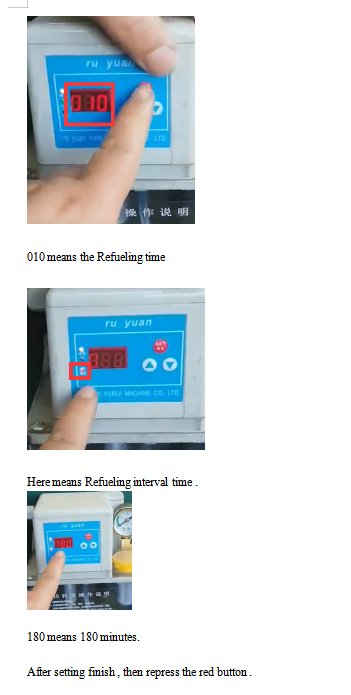
When setting the lubricating oil pump, longtime press the red button